An Affordable Front Porch DIY Makeover
Our 1950’s home has had the same porch facade, and the concrete slab was due for a much-needed facelift. After putting up with the stained eyesore for the past few years, I finally decided to pull the trigger and attempt to paint hand-painted tile. While I am a full-time artist, this project seemed a bit out of my league, so hopefully my step-by-step will put you at ease! This affordable DIY project is something anyone can tackle with a little patience and sunshine.
How to Give Your Patio A Facelift:
Supplies Needed:
Paper Towels
2 Paint Rollers (1 for base coat & 1 for sealer). Be sure it is suited for textured walls, concrete & decks
Steps to Painting Stenciled Tile:
Step #1:
Power wash your surface. This step is crucial as you do not want dirt, leaves, or remnants from a previous paint job on your concrete; having dirt or grime could end up causing your paint to peel later on. . . trust me!
Step #2:
Apply painter’s tape to the wall and/or areas you do not want paint. This painter’s tape won’t take off paint & will make for extra crisp lines.
Step #3:
Pour your base coat (in my case, the gray paint), into the bin and begin rolling the paint onto the surface. Pro-tip: start in the furthest corner and work your way to an area where you will not get stuck. I purposely ended at my doorway, so I could go inside after finishing.
*It’s optional to apply two coats, but it doesn’t hurt to add an additional layer a few hours after the first coat.
Step #4:
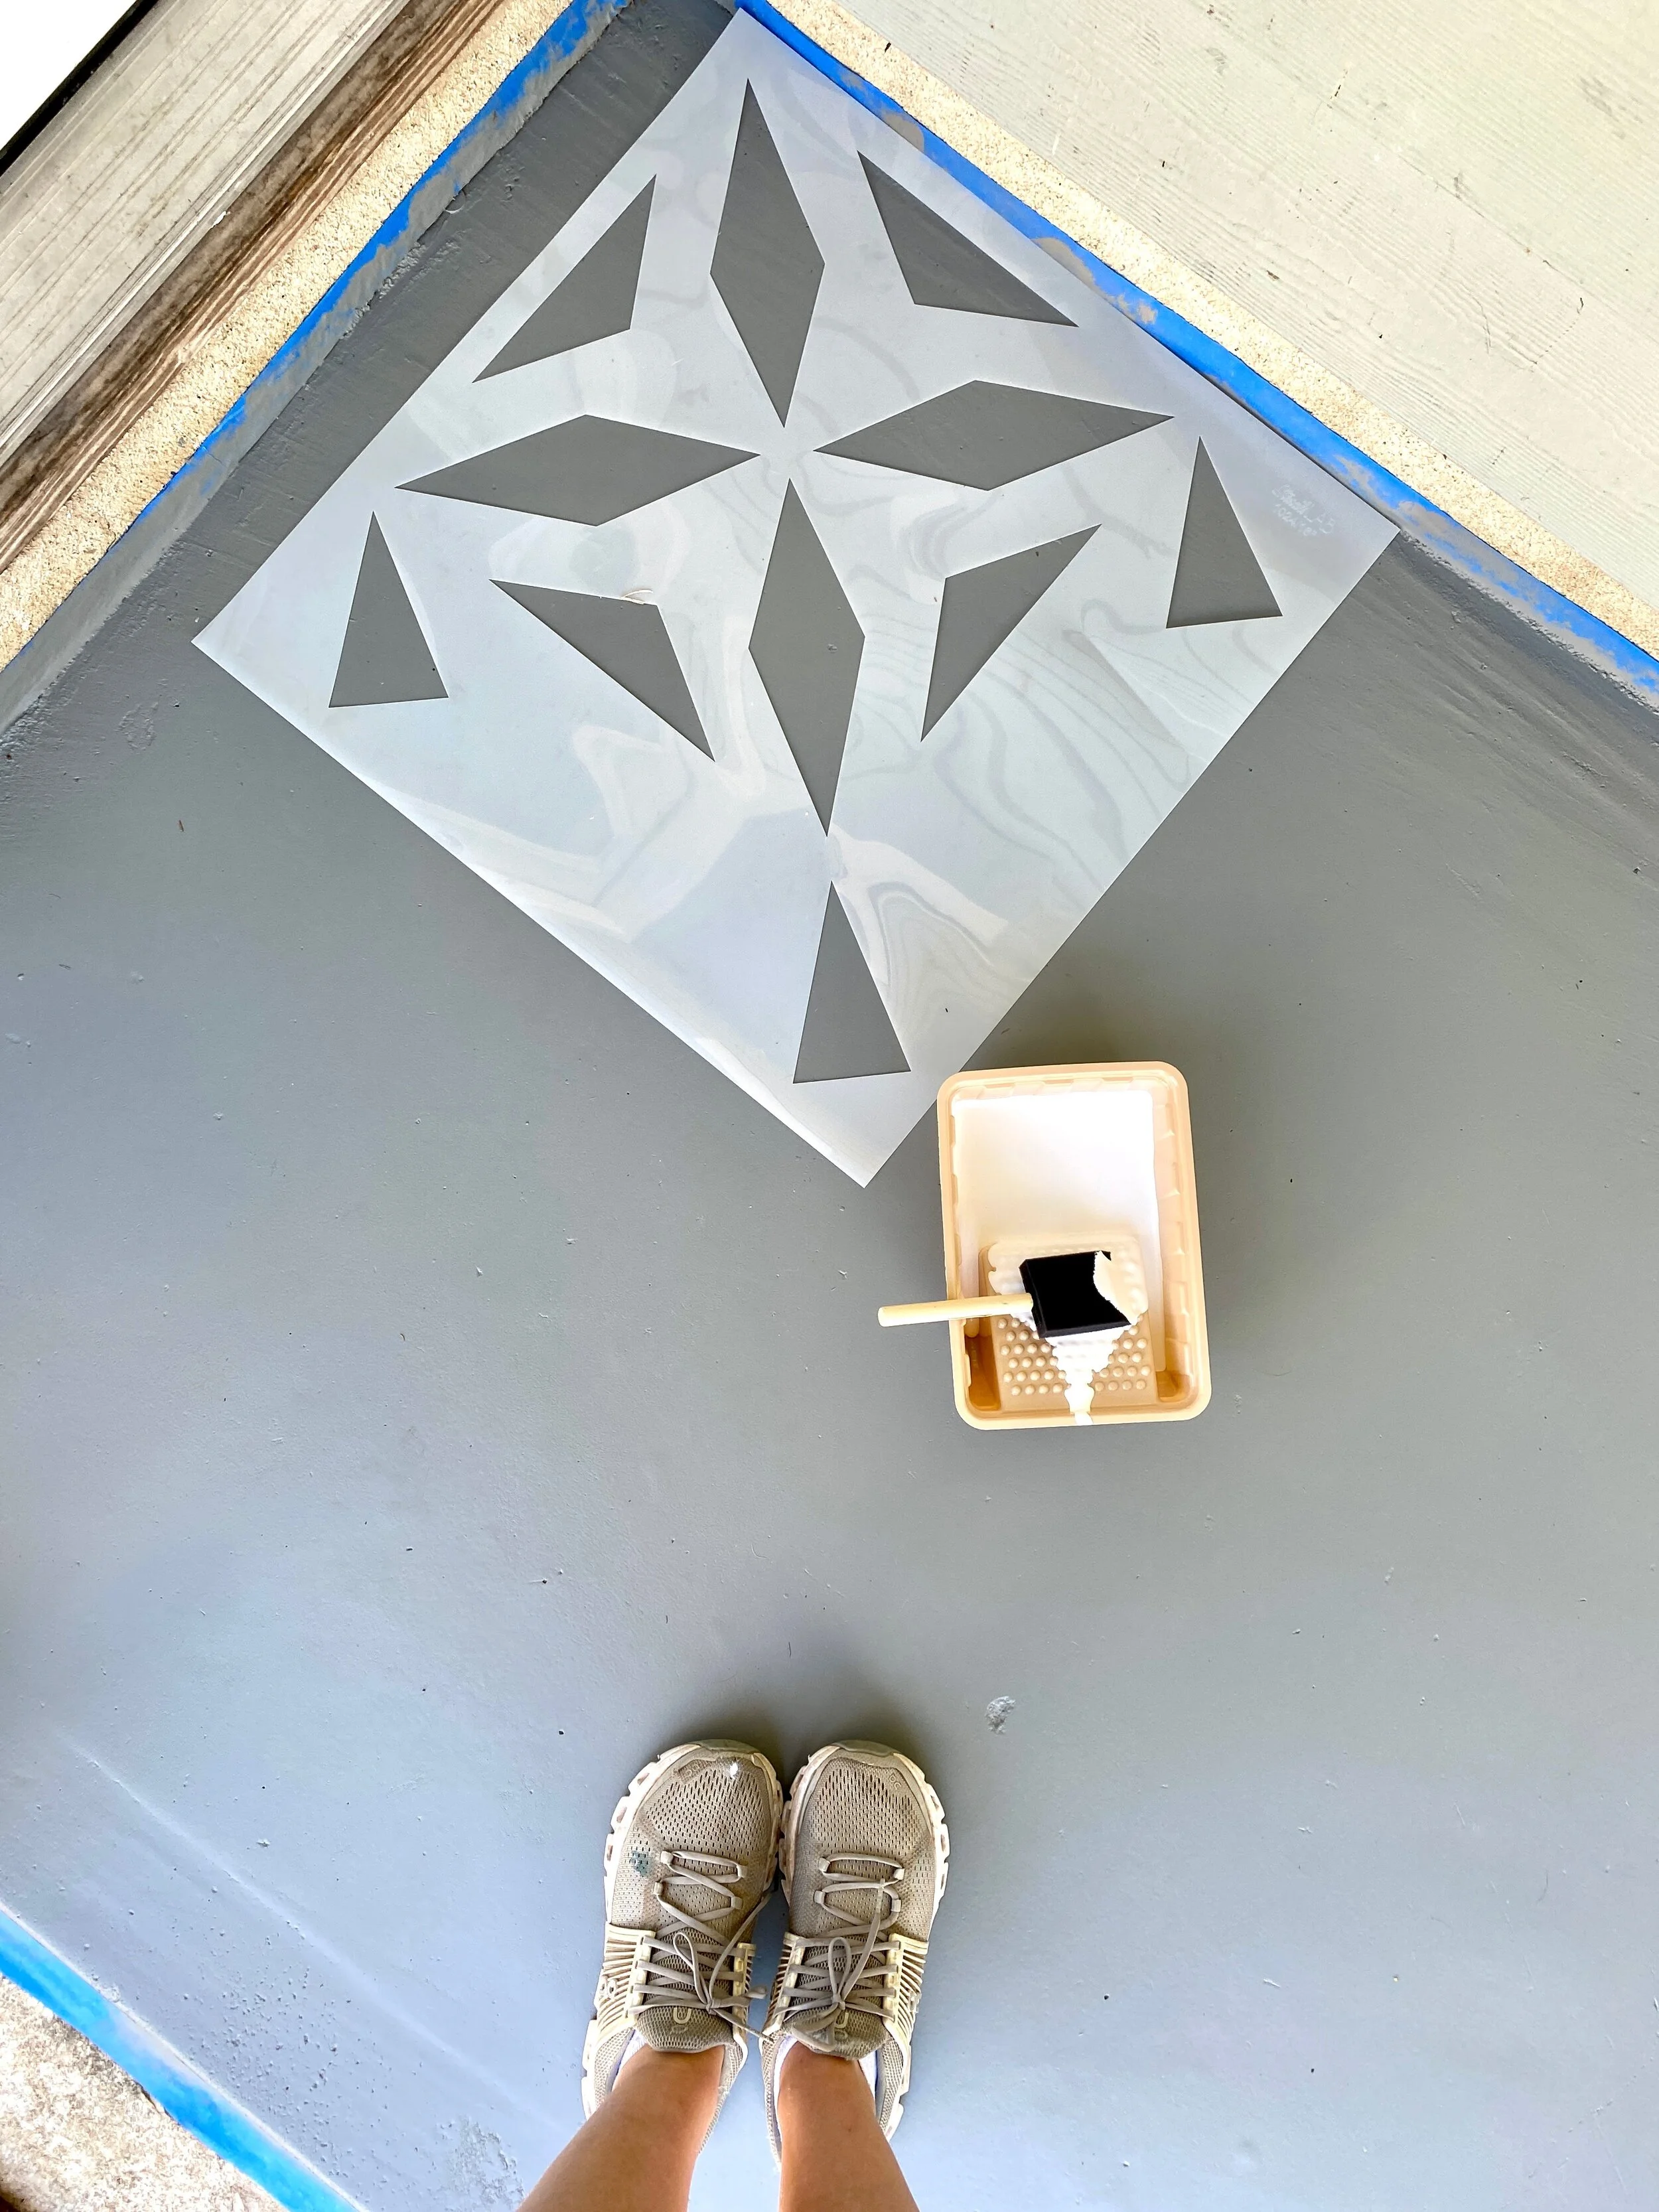
Place the stencil parallel to the wall and dab your top layer of paint (in my case, the ultra white) with a sponge onto the stencil.
Be sure to wipe the stencil between each layer so white paint doesn’t get all over the gray layer. I learned this the hard way.
Looking back, I wish I chose a larger stencil, as smaller stencils require more work. Stenciling can be quite exhausting (even if you’re not a perfectionist like me!), so prepare for this step to be the most tedious, yet rewarding.
Step #5:
Lastly, after your stenciled layer is dry (I waited a day to be safe), sweep your patio clearing out any debris/dirt, and then paint a layer of sealant to protect the paint and prevent peeling. Voila!
Our Favorite Rattan Chair Sets:
Get the Look. . .
Want to know what I’m up to on the every day? Follow along on Instagram at @cocozentner_art or on my Pinterest page. I love to post what inspires me, behind the scenes of my painting process, and my pup, Maudie!
Until next time,
We thought you may also like These…
To see more about what inspires CoCo, check-out her Instagram page at @cocozentner_art!


From storage solutions to proper laundering techniques, we have you covered on maintaining your silk scarves to keep them looking happy & healthy!